Smart Refrigerator - Optional WiFi Set-Up with Connect Module* (Powered by SmartHQ™)
To use the Smart features on your Refrigerator, you will need to set-up the Refrigerator. Models with Optional WiFi require a Connect Module powered by SmartHQ™.
Visit our
Smart Refrigerators for Built-In WiFi and Optional WiFi Refrigerators.
Setting Up Your Refrigerator
Step 1
Download the SmartHQ app.
The SmartHQ app can be used on Apple or Android smart phones, and is available to download for free from the
Apple App Store or
Google Play. Once downloaded, open the SmartHQ app on your smart phone and sign in or create a WiFi Account.
- If you already have a WiFi Account, select "Sign In." This takes you to the Welcome screen.
- If you do not have a WiFi Account, select "Create Account." After you fill out the required information, you will receive an email to verify the account. Once the account has been verified, you will be able to use the email and password you created to sign into the SmartHQ app.
Step 2
Determine your control type. There are two types of control panels on Smart Refrigerators: LCD Touch Screen Control
Pushbutton Control (also called Cap or Capacitive Touch)
Hint: If you are unsure of which control type you have, open the SmartHQ app and sign into your account. On the Home screen, press the Plus sign (+) to view the "Add An Appliance" screen. Press the ! symbol next to the "Fridge (LCD Display)" or "Fridge (Cap Touch)" to view a picture of each control panel.
Step 3
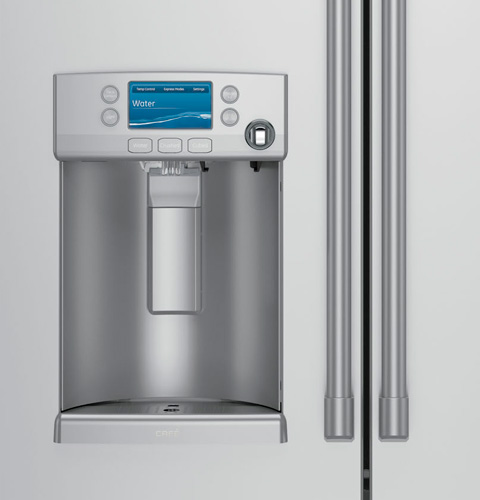
Verify if your appliance has Built-in or Optional WiFi.- LCD Display: Touch the Refrigerator LCD Display screen to wake up the display. Touch "Settings" and find the "WiFi" option.
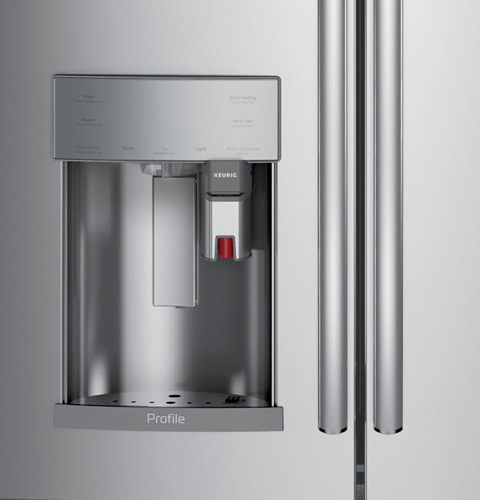
- Pushbutton Control: Open the right fresh food door and locate the "Connected Appliance Information" label on the right side wall.
Step 4
Check if your appliance is WiFi compatible with the Connect Module powered by SmartHQ.
Open the SmartHQ app and sign into your account (if you are not already signed in). On the Home screen, press the Plus sign (+) to add the Refrigerator to your account. Select your Refrigerator type to take you to the Welcome screen. Press OK.
- On the "WiFi Connect?" screen, press "No" since you either have an LCD Display model that does not have WiFi or you have a Pushbutton model.
- On the "Have Connect Plus?" screen, press the arrow next to "Purchase a Connect Module" to enter your appliance model number.
- The SmartHQ app will confirm if the appliance requires a Connect Module. If it does, click on the link in the app to order the module. You can also purchase the Connect Module online at PBX10W00Y0.
Step 5
Connect your WiFi Refrigerator with the Connect Module.
Once you receive the Connect Module, open the SmartHQ app and sign into your account. From the Home screen, press the Plus sign (+) to get to the "Add An Appliance" options. Select "Fridge (Connect Plus)" to take you to the Welcome screen. Press OK.
- Find the network name and password on the back of the module.
- In the SmartHQ app, go to the "WiFi Connect?" screen, press "No" since you either have an LCD Touch Display model that does not have WiFi or you have a Pushbutton model.
- Press Next on the "Have Connect Plus?" screen.
- Enter the password or take a picture of the password on the back of the Connect Module with your phone.
- Once the password is confirmed, plug the Connect Module into port at the top of the Refrigerator. It plugs into a port on top of the Refrigerator near the front in the middle.
- Make sure the WiFi LED on the Connect Module is flashing.
- Go to your phone's WiFi settings and choose the network name found on the Connect label. If you do not know how to get to get to the WiFi settings, press "Show Me How" on the SmartHQ app.
- On Android phones, you may see "Disable Smart Network Switch" in the instructions on the SmartHQ app. Press "Show Me How" for instructions on disabling this feature. The option may vary by phone; look for other options like: Auto Network Switch; Check for Internet Service; or Avoid Poor Networks.
- After joining the GE Appliances network, return to the SmartHQ app and press Next. This will start communication between the app and the appliance.
- If successful, the "Choose home network" screen will appear. Find your home WiFi network and enter your password to connect the device back to your home network.
- If you do not see your home network on the list of WiFi networks, chose the "Other" option and enter your network name yourself.
- The Connecting process will start and the LED on the module will remain solid and no longer flash.
- The appliance is connected once the SmartHQ app says "Connected!"
Support
If you have difficulty connecting your Refrigerator, see our
Smart Refrigerator - Optional WiFi Set-Up Troubleshooting article.
For further assistance, call the Connected Home Support Line at 1-800-220-6899 (Monday - Friday 9am - 9pm EST, Saturday 9am - 3pm EST), or email
[email protected].